Introduction
In today's tech-savvy world, the concept of smart homes is becoming increasingly popular. Building your own smart home gadgets allows you to customize your living space while learning valuable skills. With platforms like Arduino and Raspberry Pi, you can create versatile and efficient devices to automate and enhance your home.
Why Choose Arduino or Raspberry Pi?
Arduino and Raspberry Pi are two of the most popular platforms for DIY electronics projects. Each has its unique advantages:
- Arduino: Known for its simplicity and ease of use, Arduino is excellent for beginners. It's ideal for straightforward tasks like controlling lights, sensors, and motors.
- Raspberry Pi: With its full-fledged operating system, Raspberry Pi is more powerful and versatile. It can handle more complex tasks such as media centers, network-attached storage, and more sophisticated automation systems.
Essential Components
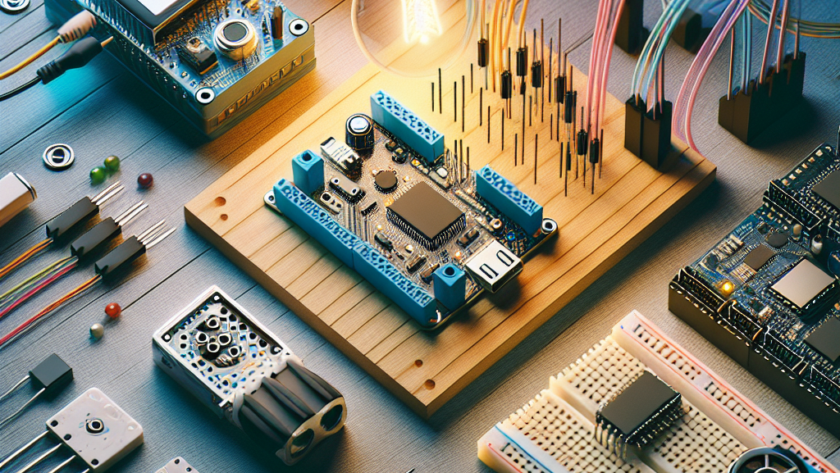
To start building your smart home gadgets, you'll need a few essential components:
- Arduino or Raspberry Pi: Choose based on the complexity of your project.
- Sensors: These can include temperature, humidity, motion, and light sensors.
- Actuators: Devices like relays, motors, and LEDs to carry out actions.
- Connectivity Modules: Wi-Fi, Bluetooth, or Zigbee modules to enable communication between devices.
- Breadboard and Wires: For prototyping and connecting components.
- Power Supply: Ensure your gadgets have a reliable power source.
Step-by-Step Guide
1. Define Your Project
Decide on the gadget you want to build. It could be a smart thermostat, automated lighting system, or a security camera.
2. Gather Components
List and obtain all the necessary components based on your project requirements.
3. Build the Circuit
Using a breadboard, connect your sensors and actuators to the Arduino or Raspberry Pi. Make sure to follow schematics and double-check connections.
4. Write the Code
Write the appropriate code to control your gadget. Arduino uses C/C++, while Raspberry Pi can use Python or any language supported by its OS.
5. Test and Debug
Upload your code and test the gadget. Debug any issues and make sure the device operates as expected.
6. Enclosure and Deployment
Once your gadget is working, create an enclosure to protect the components and deploy it in your home.
Benefits of DIY Smart Home Gadgets
Building your own smart home devices offers several benefits:
- Customization: Tailor devices to meet your specific needs.
- Cost-Effective: Save money compared to buying commercial products.
- Learning Experience: Gain valuable skills in electronics and programming.
- Scalability: Easily expand your system with additional gadgets.
Conclusion
Creating smart home gadgets with Arduino or Raspberry Pi is an enriching experience that combines learning and innovation. By following this guide, you can start building and customizing your own devices, making your home smarter and more efficient.